Creating The Board
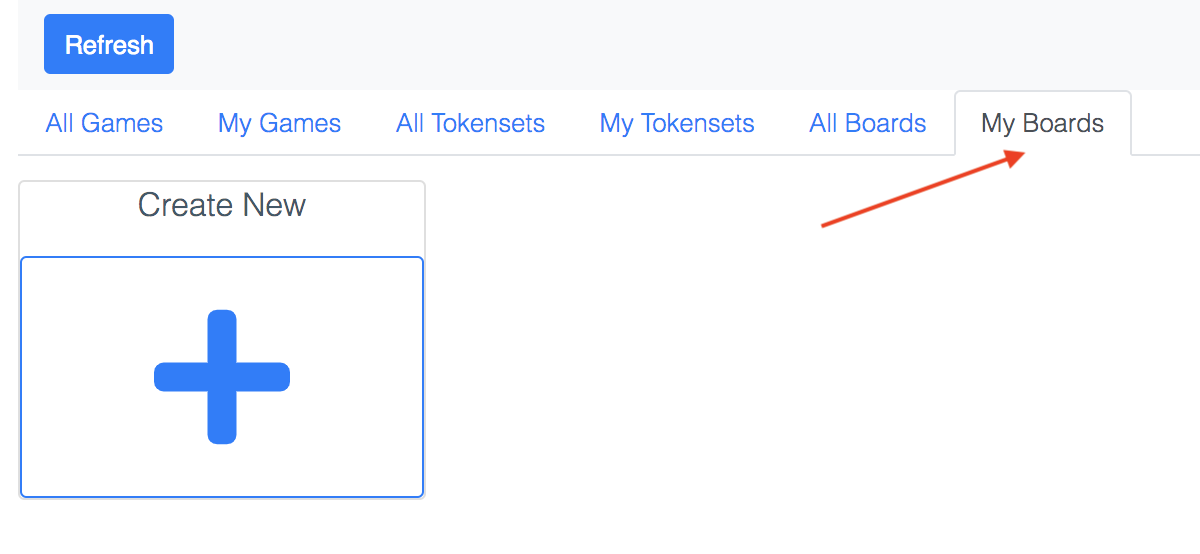
- First, go to the “My Boards” tab on the home page and click on “Create New” to create a new board.
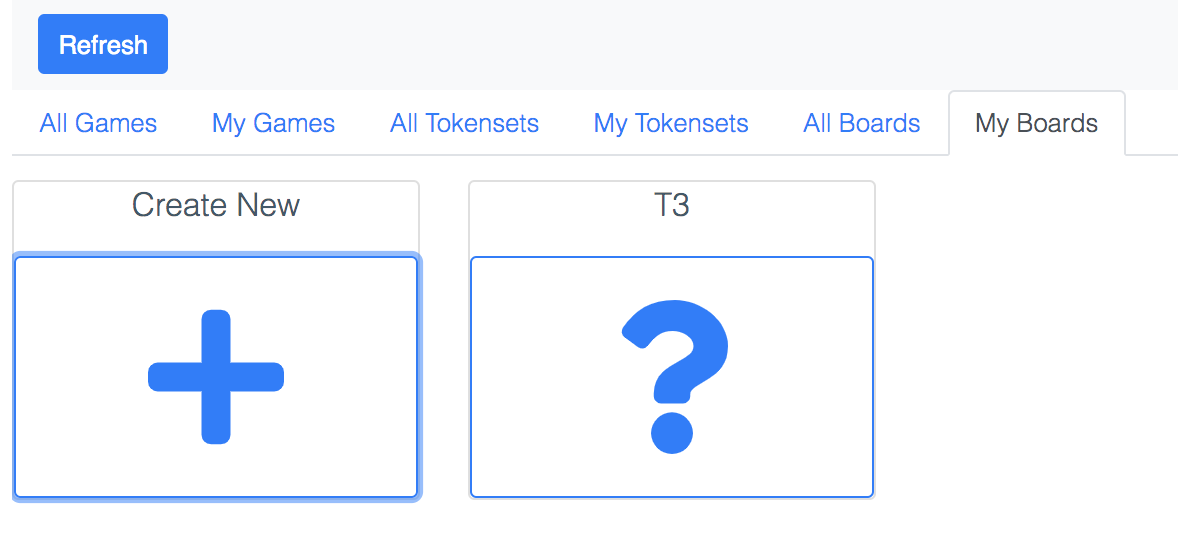
- You should now see your board in the list of boards.
- Click on your board to open the board editor.
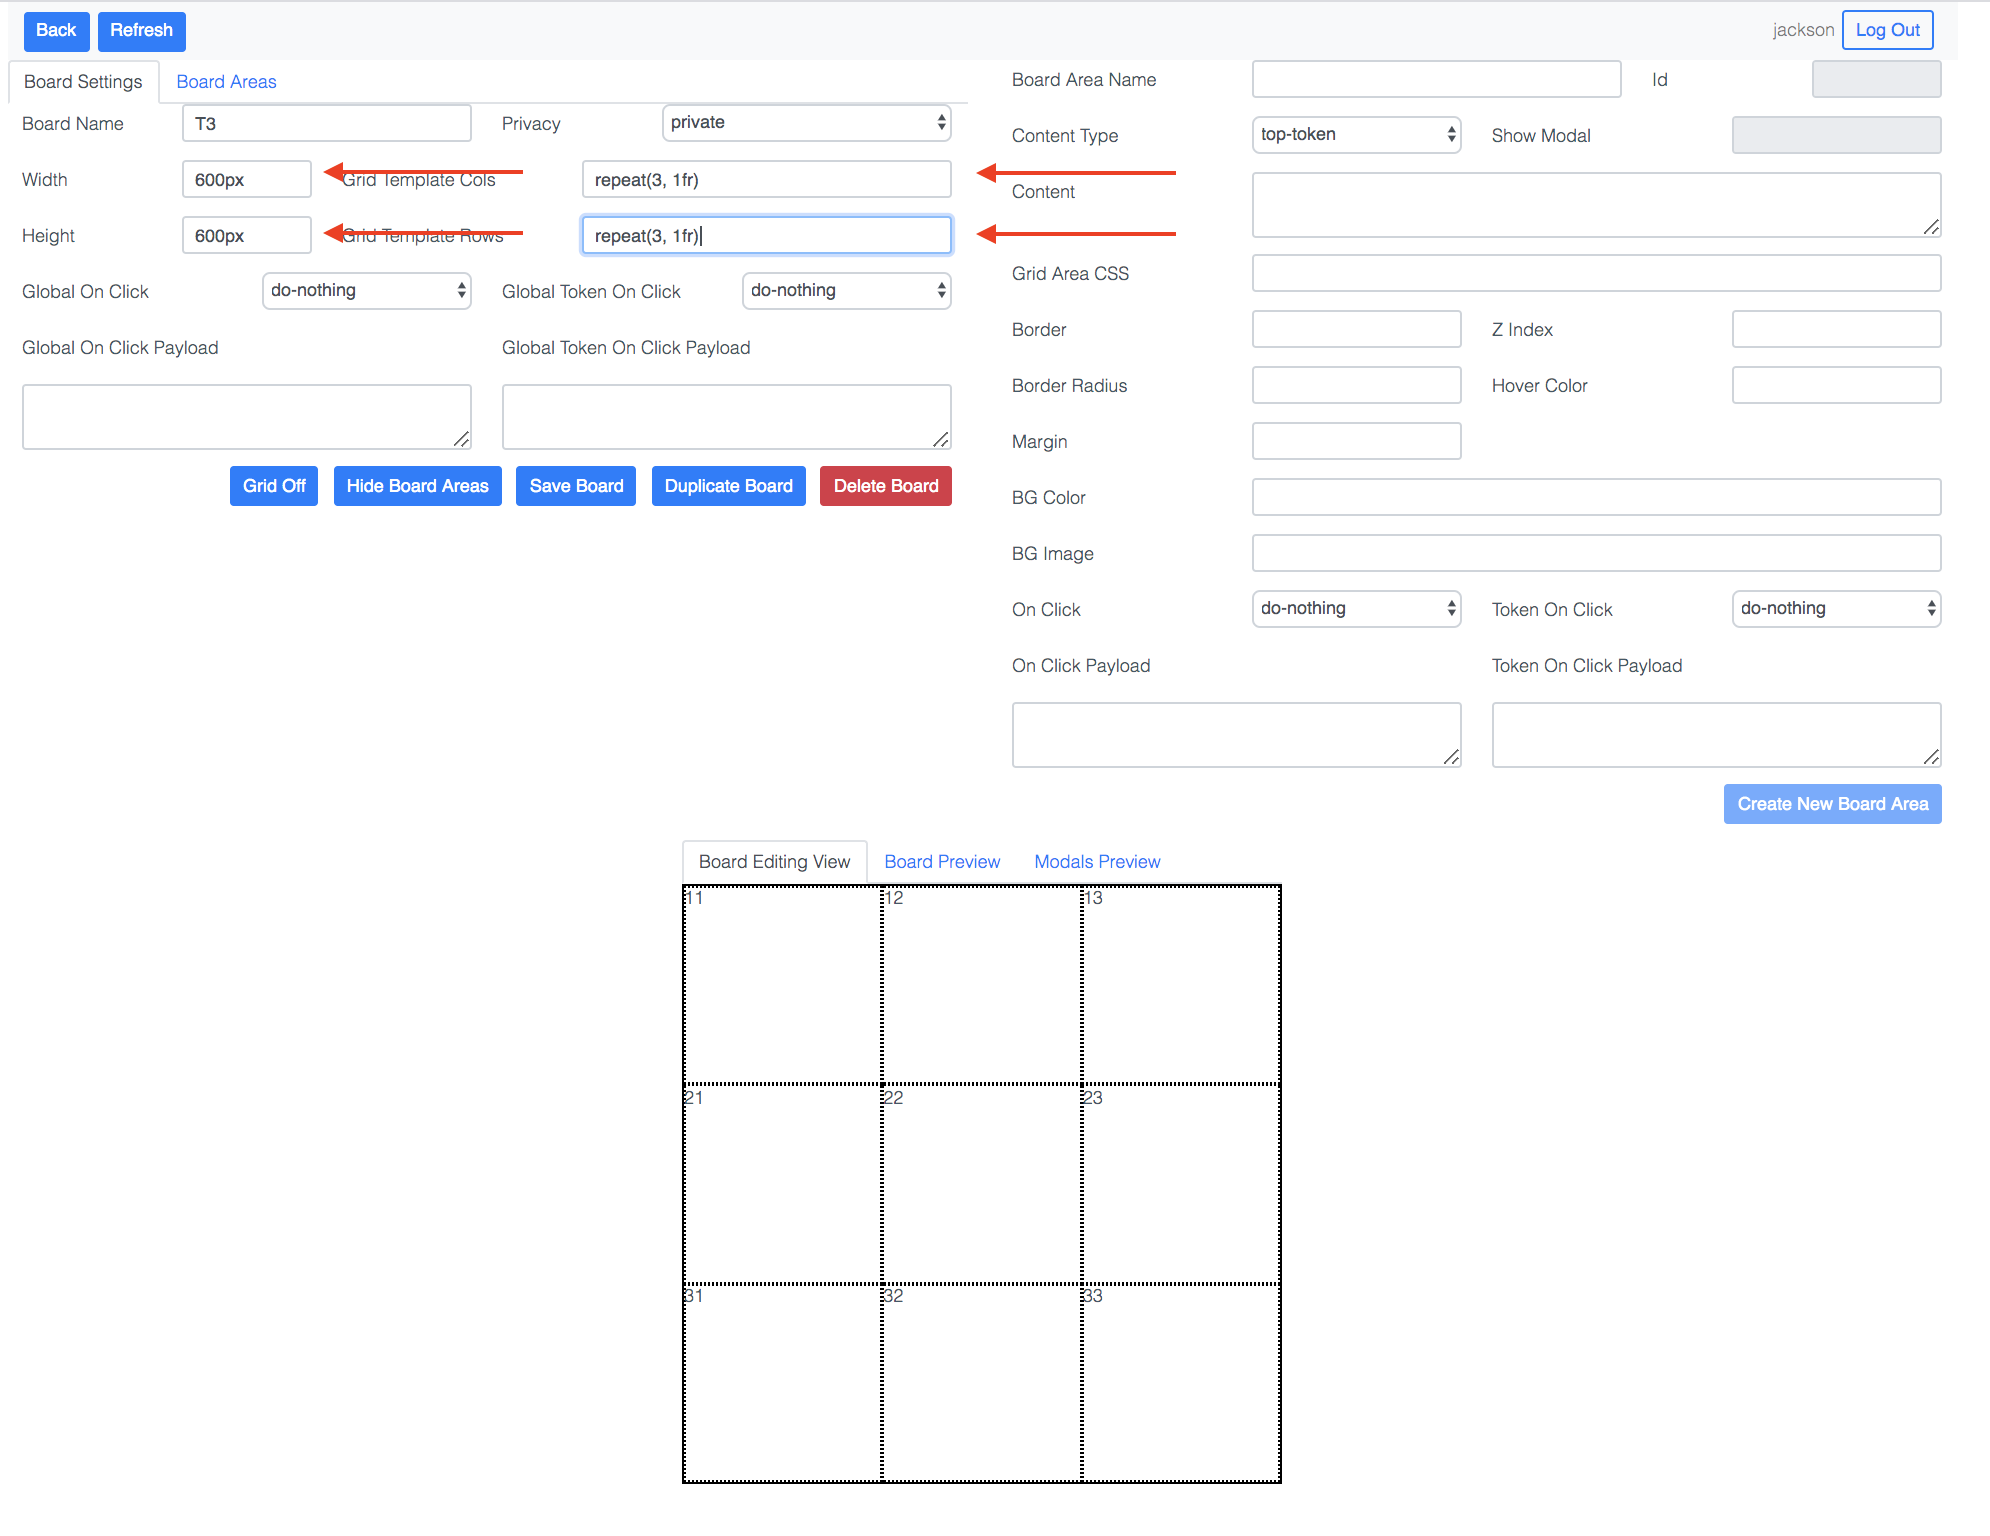
- Boards are rendered using CSS Grids. First, set up the grid using the following values:
Width: 600px
Height: 600px
Grid Template Cols: repeat(3, 1fr)
Grid Template Rows: repeat(3, 1fr)
This creats a 3x3 grid of cells.
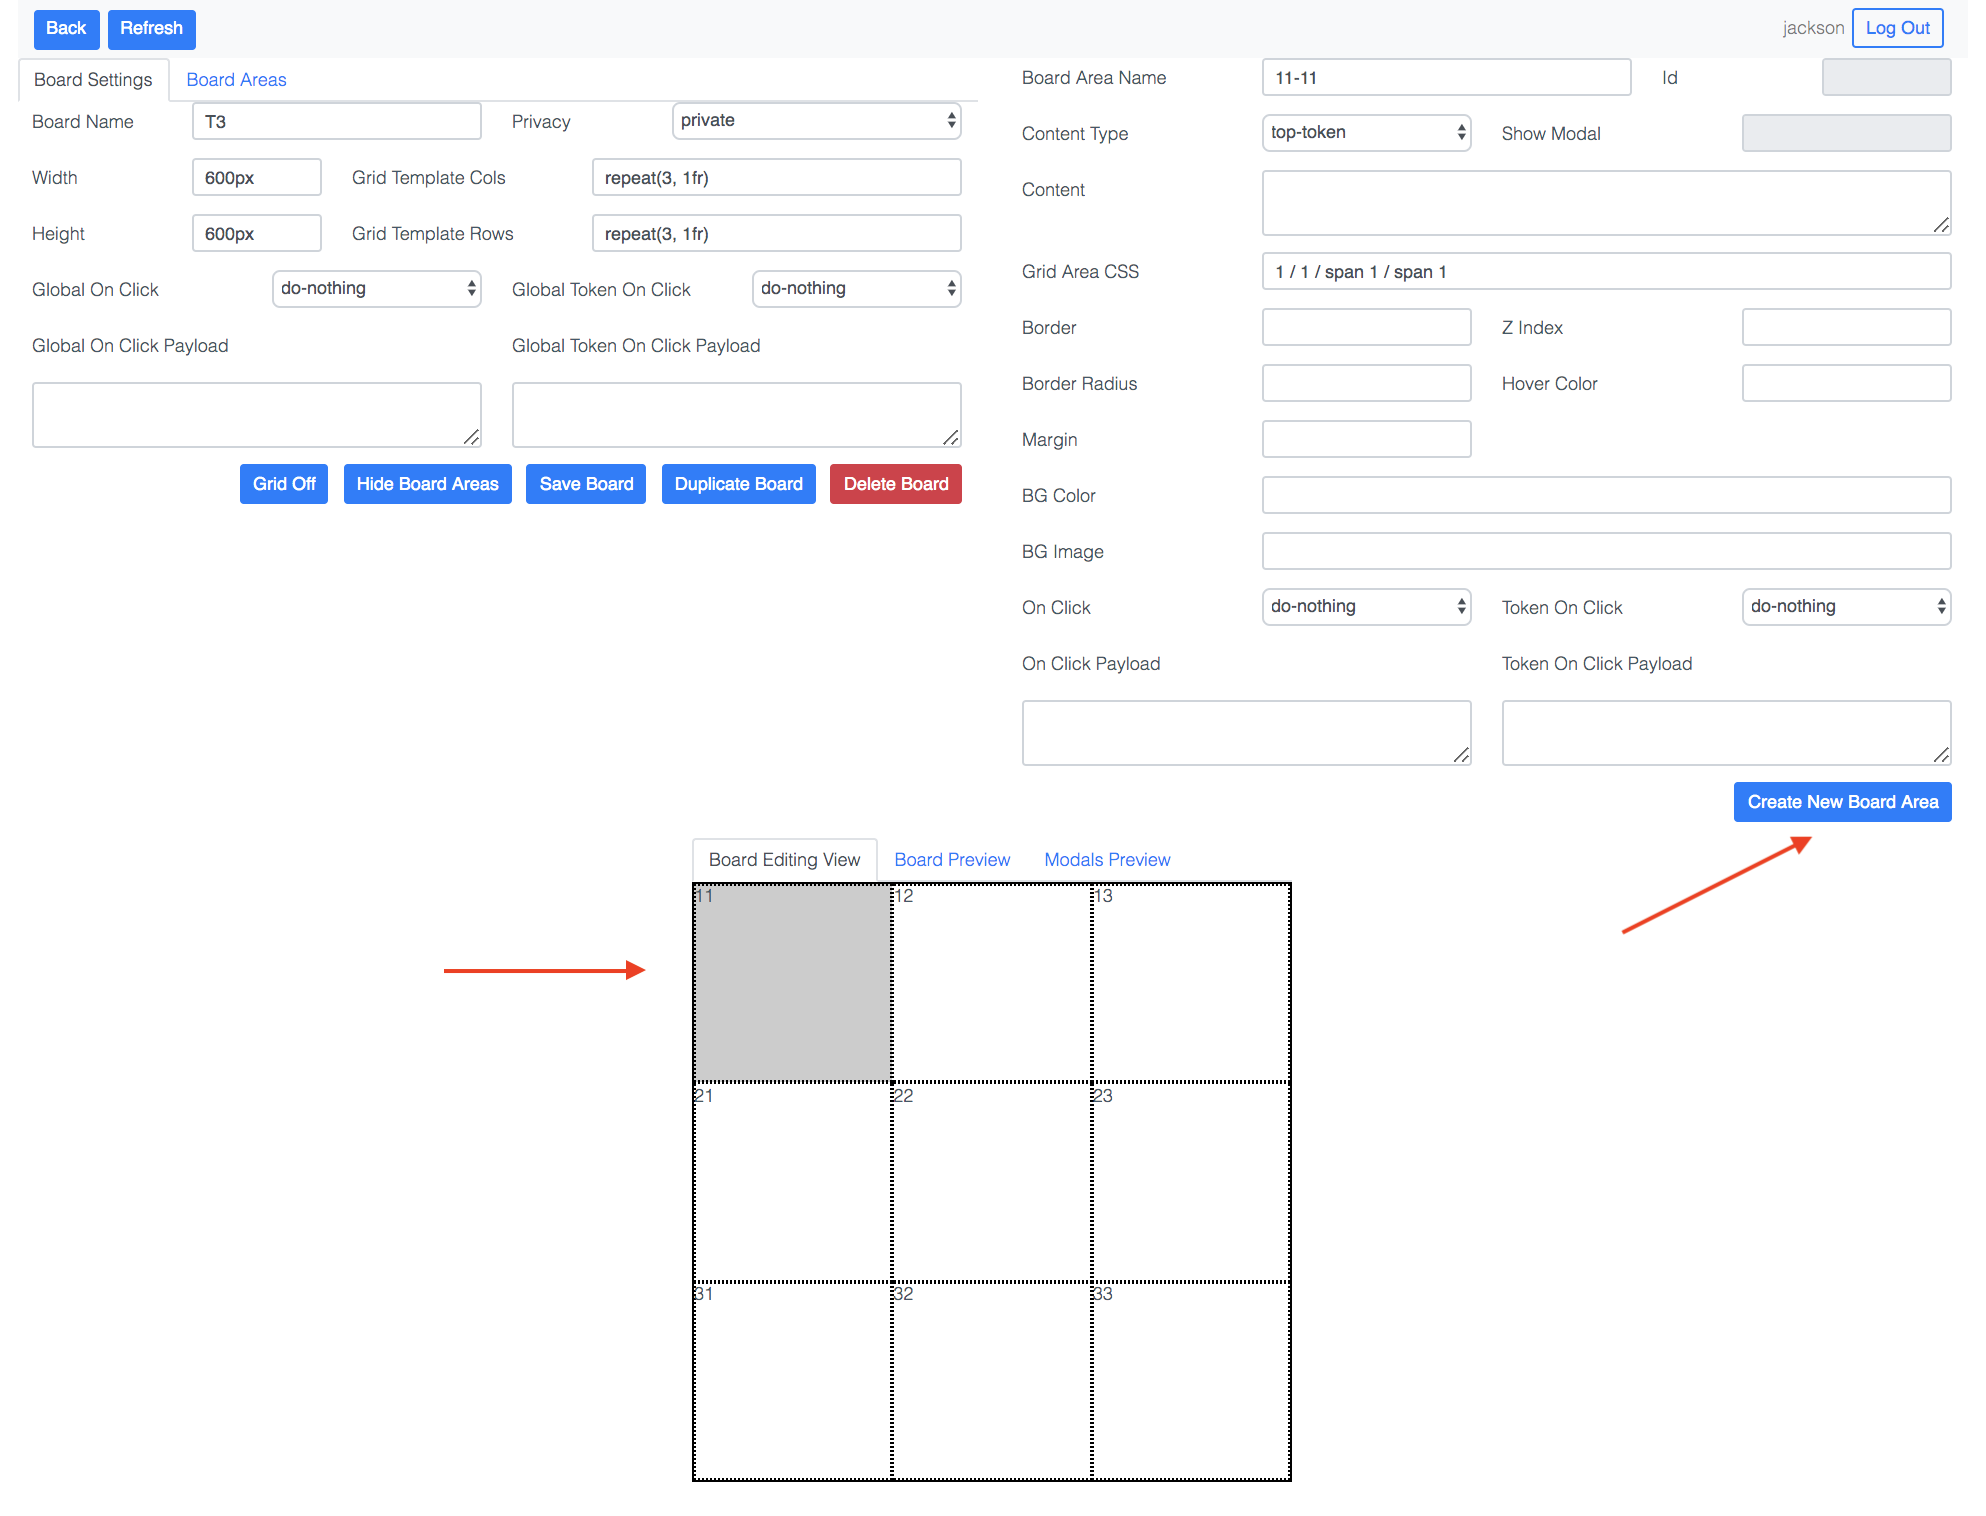
- A board consists of a collection of board areas.
- Board areas are essentially divs that can display text, images, or tokens
- To create a board area, click on opposing corner cells of the area.
- In CSS Grid, areas can span multiple columns and rows.
- For tic-tac-toe, we do not need any areas that span multiple columns or rows, so just click on a cell and then click on it again to create a board area consisting of one cell.
- To cancel a cell selection, just click on any cell (even a selected one).
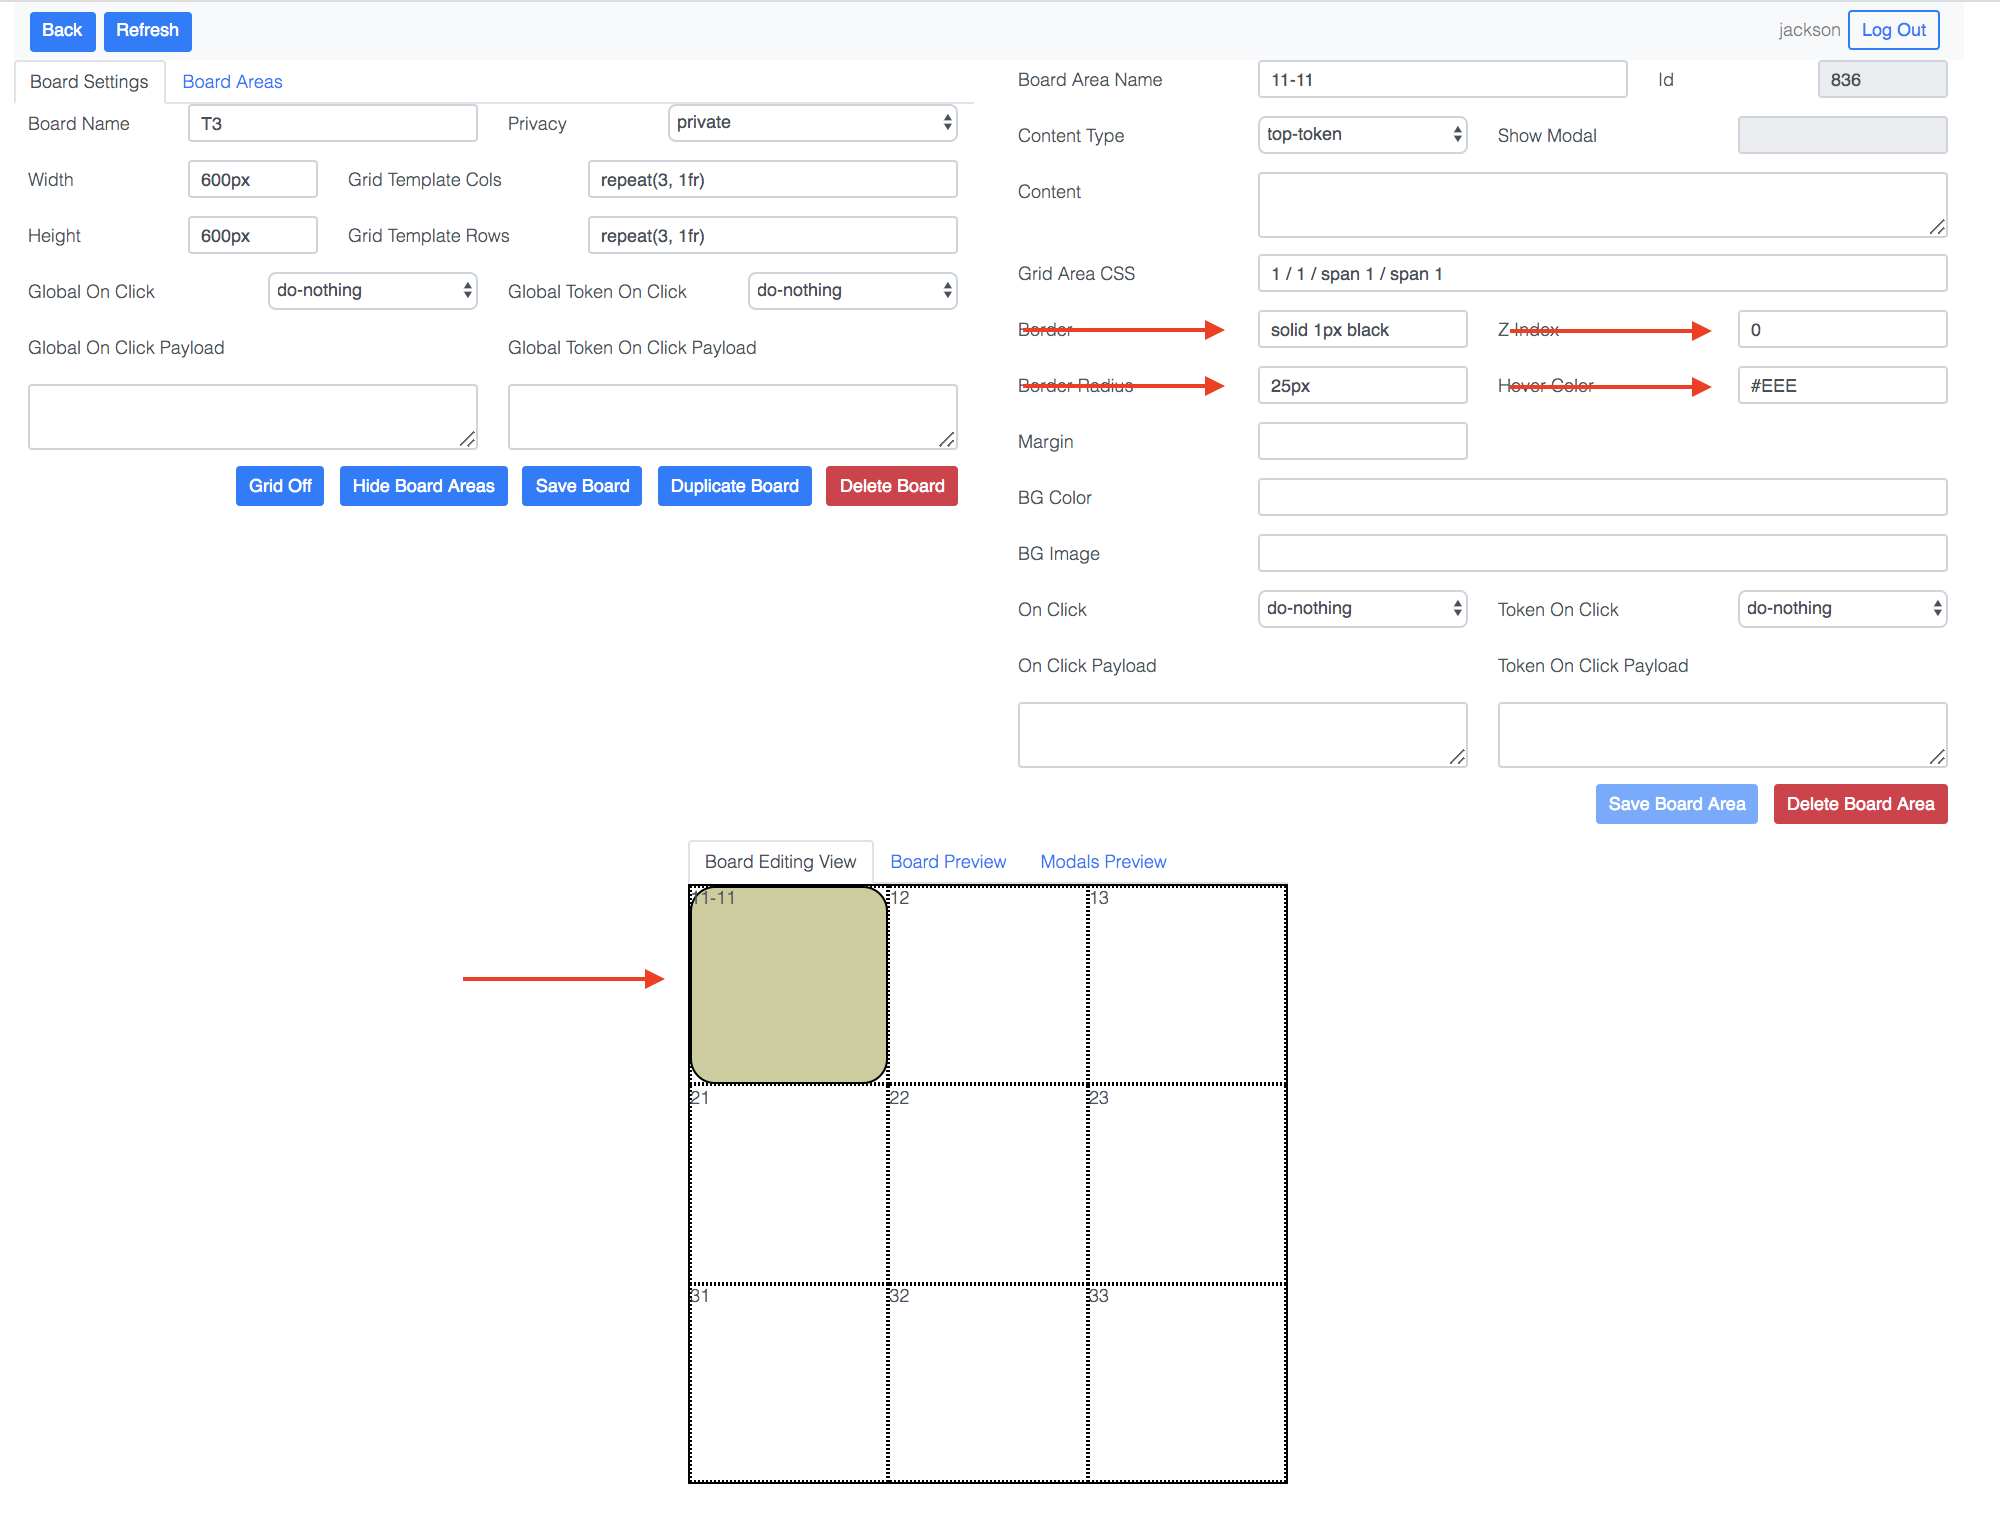
- You can specify how the board area is rendered through CSS. For now, use the following values:
Border: solid 1px black
Border Radius: 25px
Z-Index: 0
Hover Color: #EEE
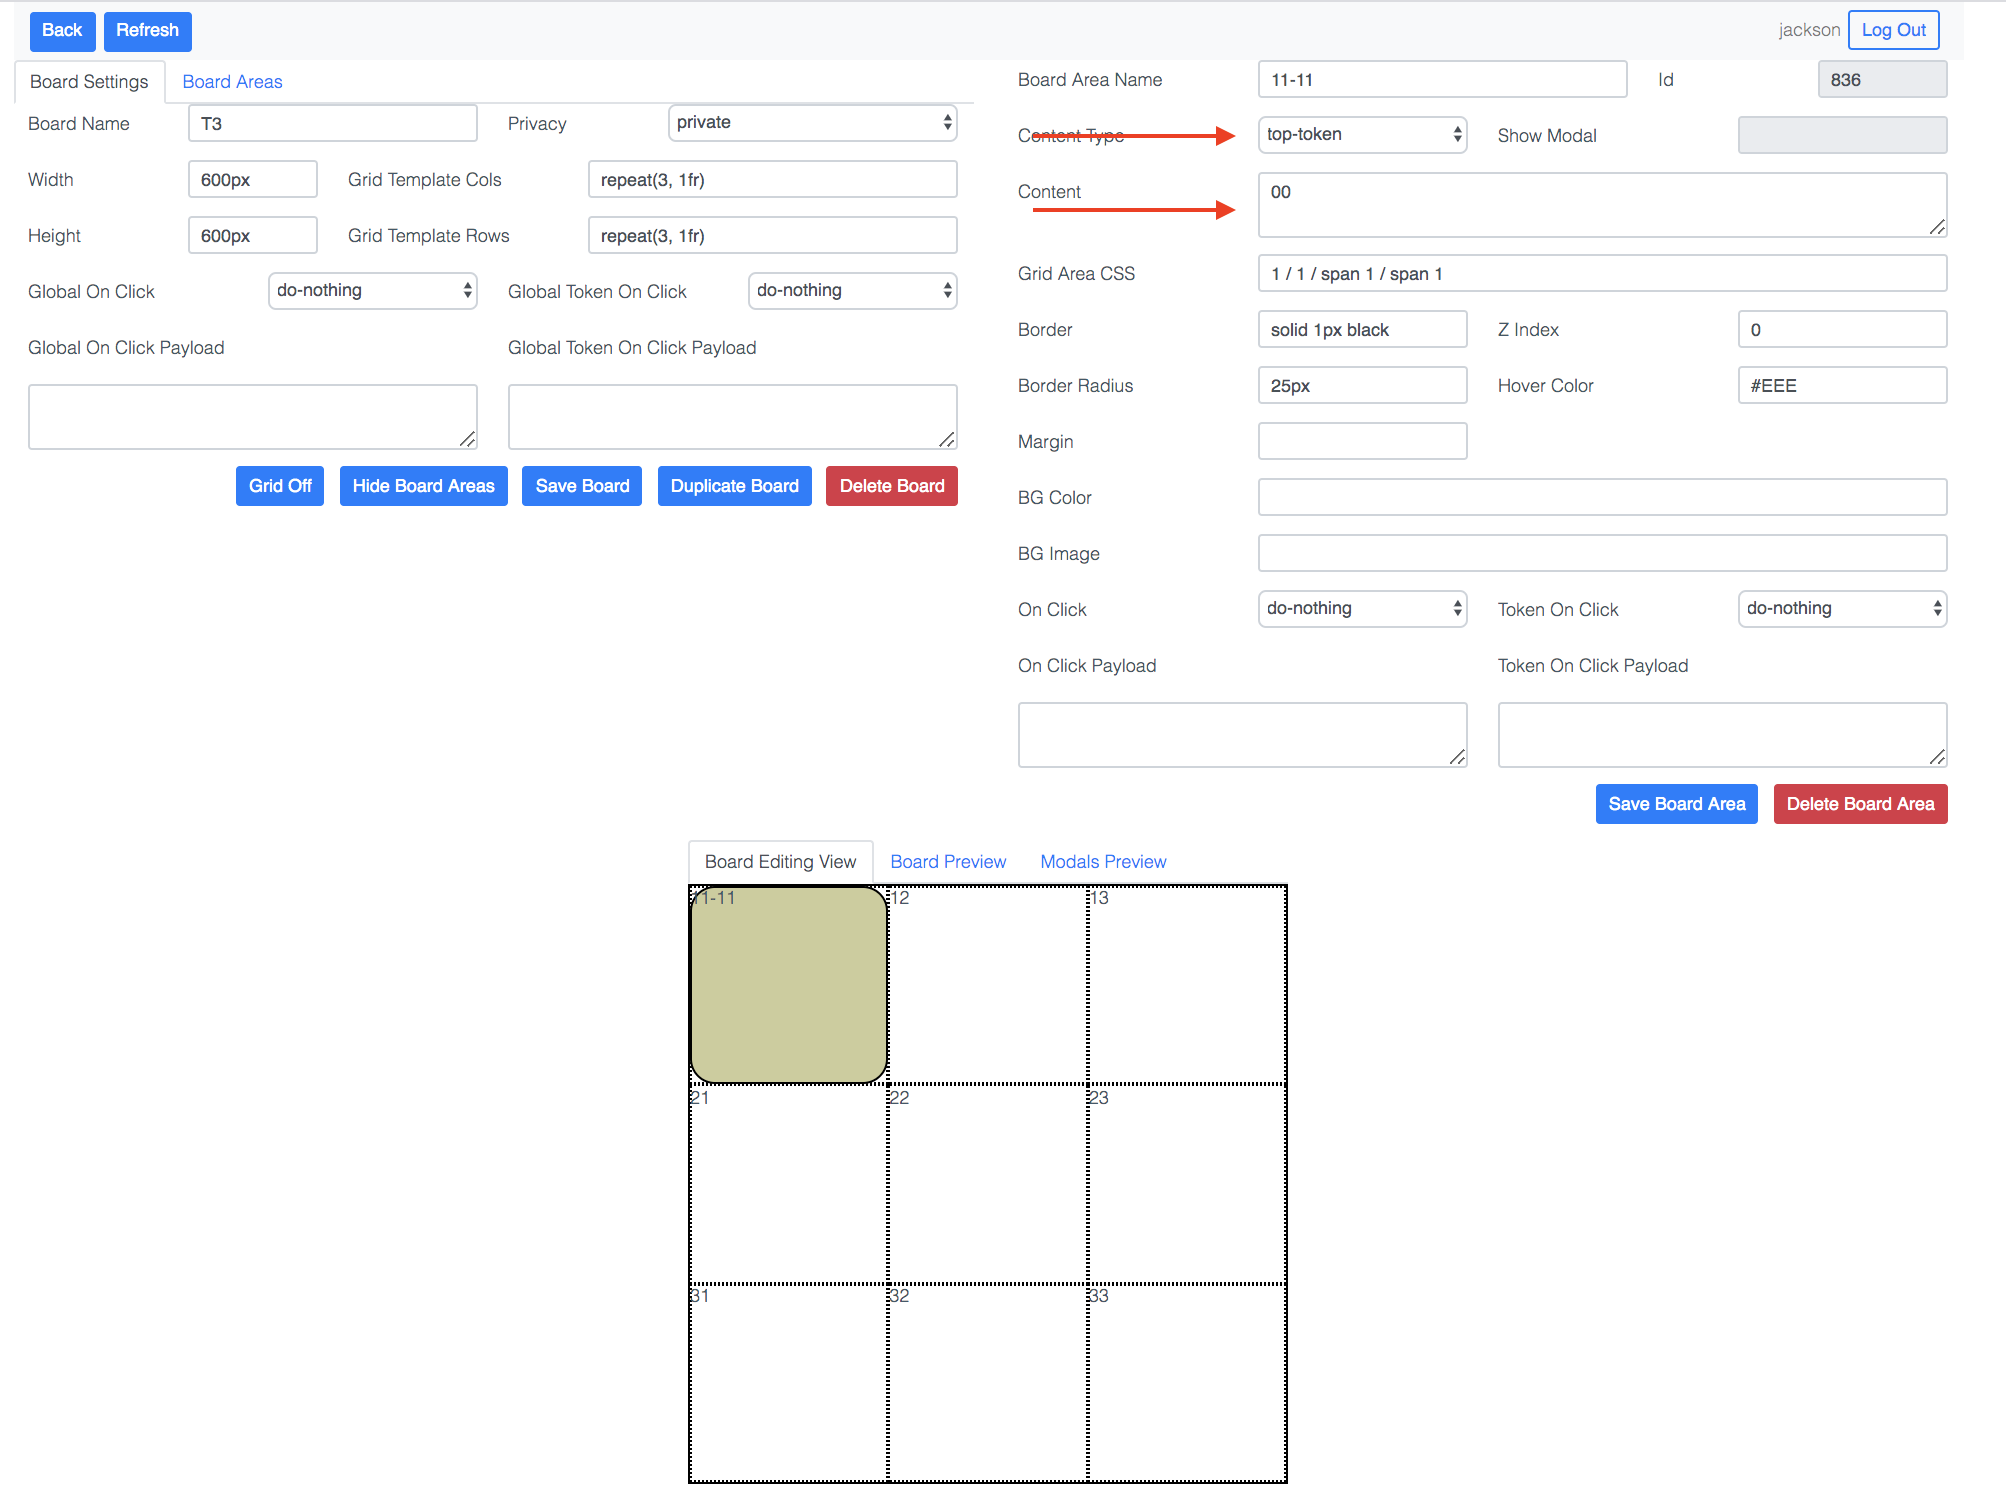
Content Typerefers to what kind of content will be shown in the board area.
- We want to show what token (if any) is occupying a particular container. For this, select
top-token- Set content to be
00. This lets the rendering engine know that this board area should be showing the contents of the container named00, which we created previously.
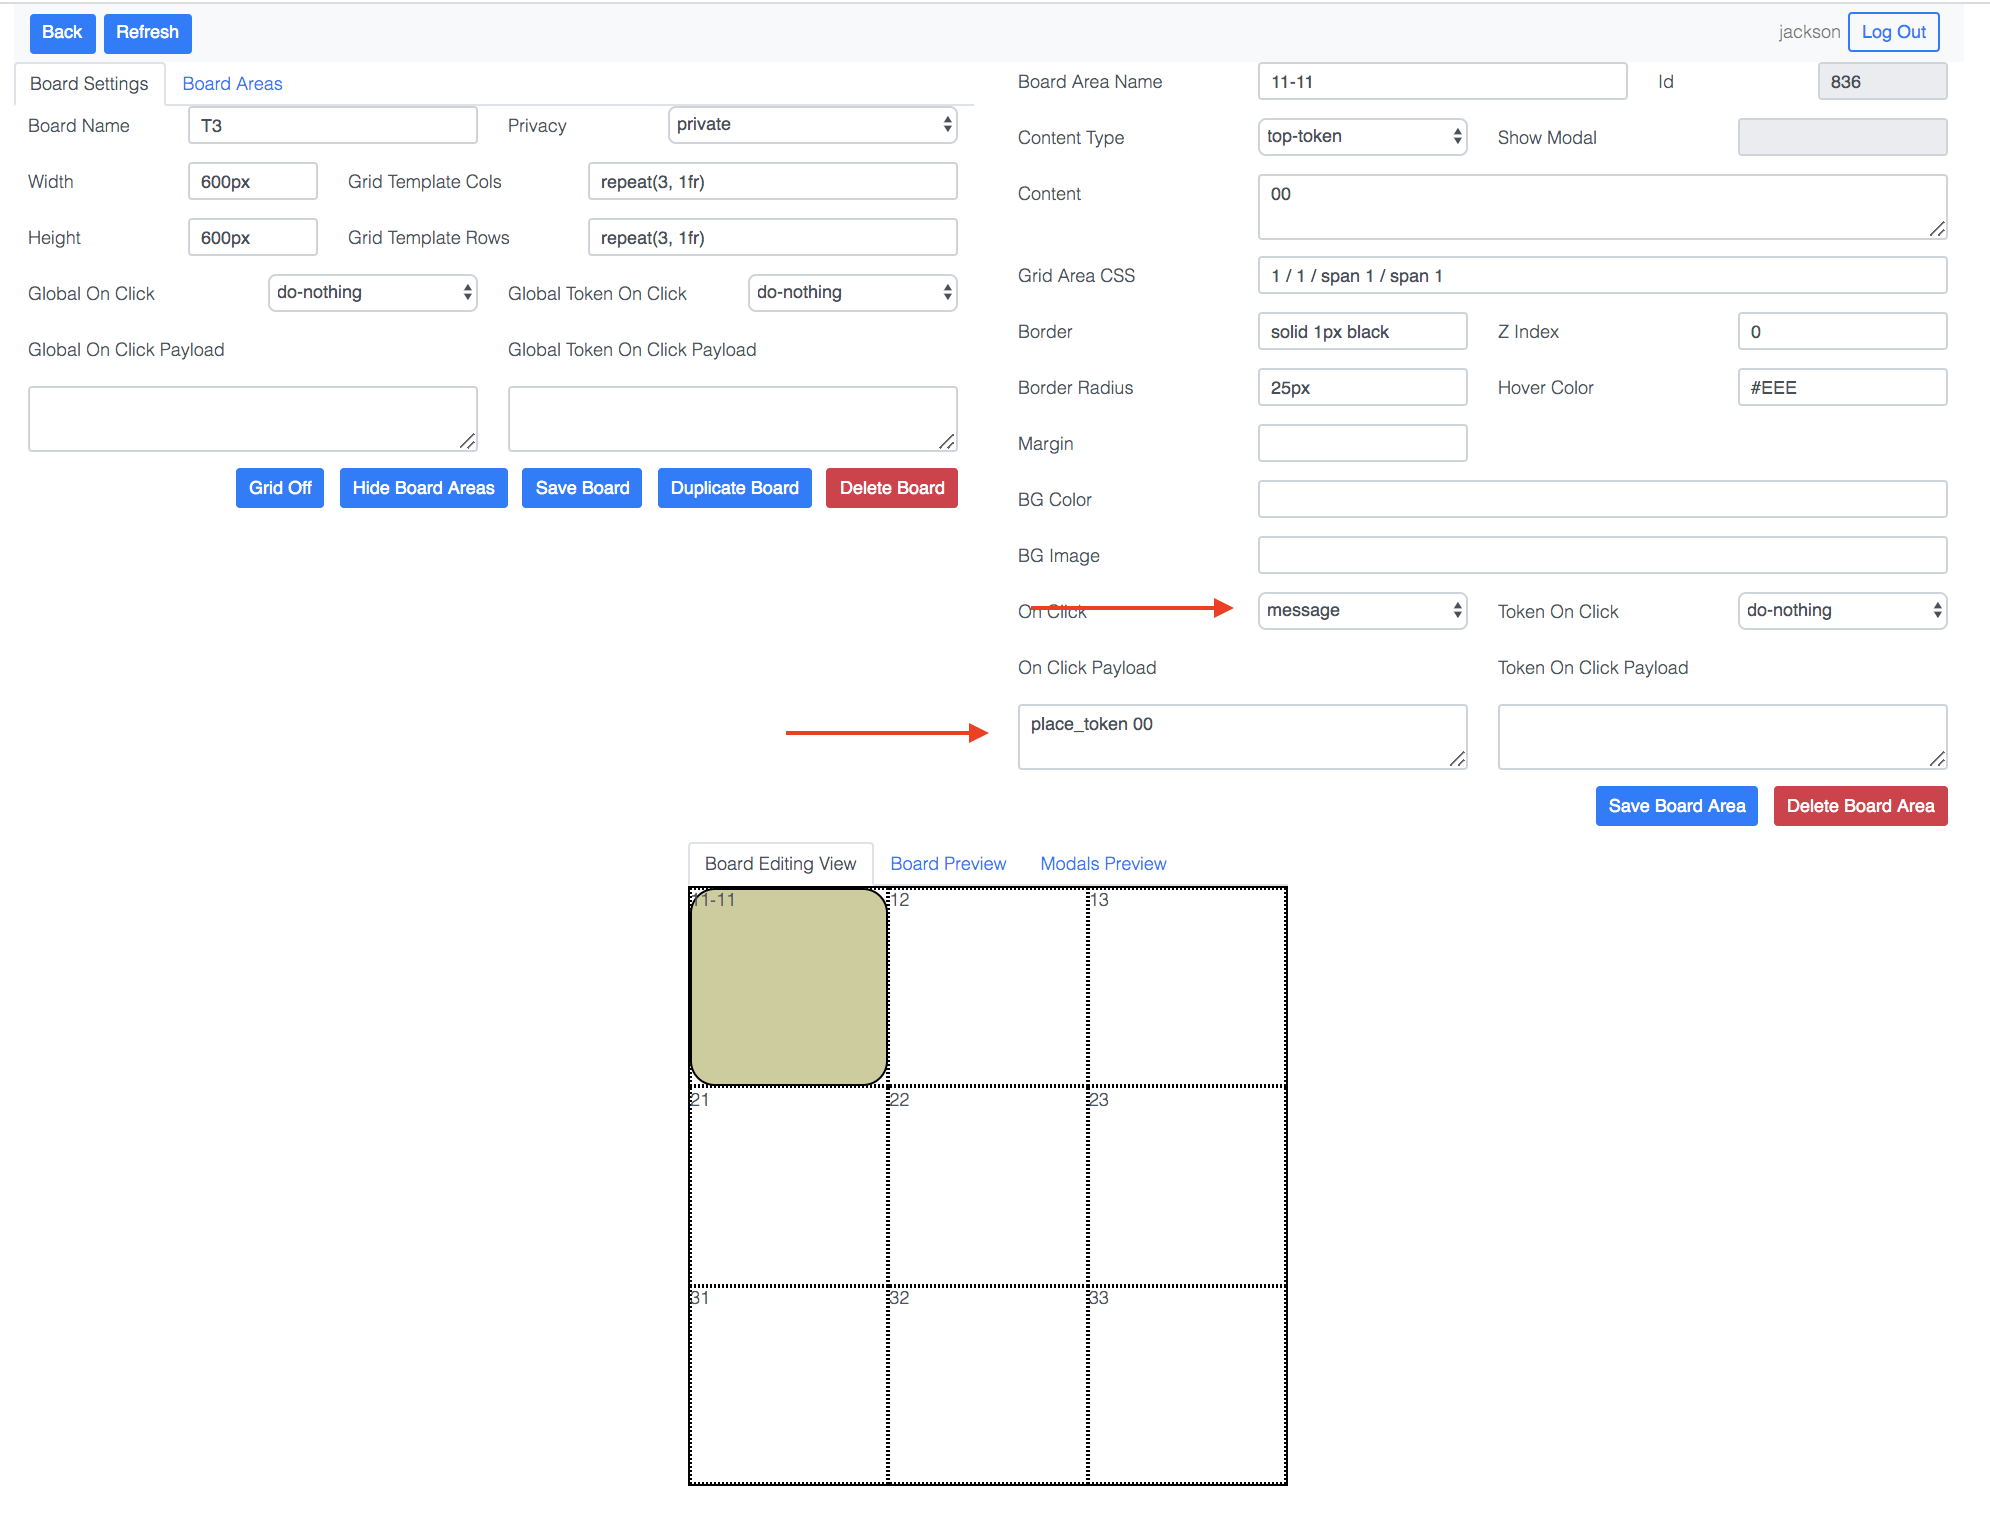
On Clickrefers to what should happen when a particular board area is clicked.
- If a player clicks on a particular board area, we need a way to let the backend know that they are performing an action so that game play can advance.
- To do this, choose
messageforOn Click- Set
On Click Payloadtoplace_token 00- Now, whenever a player clicks on this board area, a message consisting of the payload “place_token 00” will be sent to the backend
- We will specify how this message is handled in the next
- Repeat the above steps for every cell, making sure to update
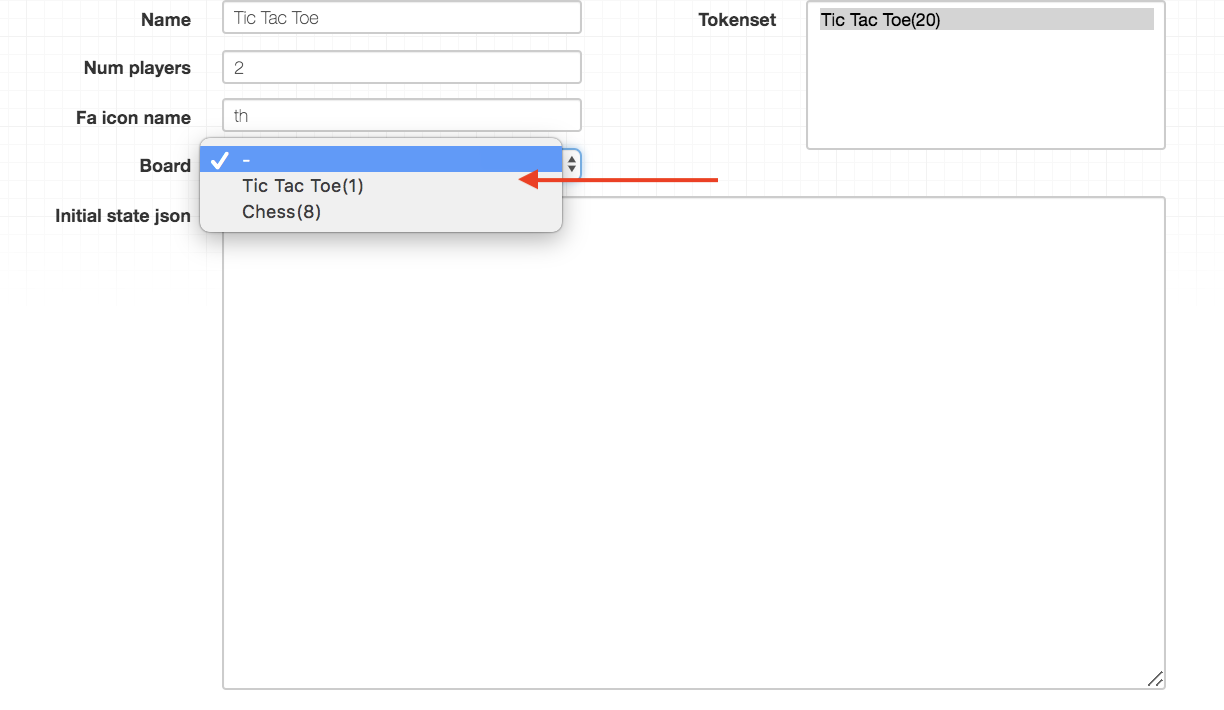
ContentandOn Click Payloadappropriately, to create a total of 9 board areas. - Select the board you created in the game spec.